
My labmate Kathryn and two of her grad school friends recently asked if they could 'hire' me to make a quilt for two friends of theirs in another lab who were expecting a baby boy (he arrived last week and every one is happy and healthy!). They wanted something personal and hand-crafted. Of course, I jumped at the opportunity. I had several quilt ideas in mind and I love being able to consult my Pinterest 'sewing fun' board to get ideas. I showed Kathryn several quilts that had caught my eye.

Although I was able to figure out how the blocks were pieced together on my own, I didn't feel comfortable figuring out the block sizes to attempt making this quilt (for someone else!) without the pattern. For ~$8, I felt the pattern was totally worth it. The instructions were very clear and easy to understand.
Next, Kathryn and I set off for JoAnn's to pick out fabrics. We consulted our dear friend Google for inspiration in picking out a color scheme. There are many examples of the Pow-Wow quilt if you do a google image search- we were particularly drawn to the colors used here, here and here. We chose to make the baby size, which required 5 different print fabrics and one solid fabric. At JoAnn's, we were immediately drawn to some really lovely polka dot patterns and settled on a medium gray as our solid color. I absolutely love the color scheme we picked out! For the backing, we found an adorable chevron pattern in different shades of gray, and even it had polka dots! For the binding, we found a really lovely orange fabric with darker orange leaves on it- very fall-inspired and perfect for a fall baby! I had to convince Kathryn that a bright color for the binding would be a good move- I am a big fan of a fun and bright binding (even if they are a pain in the you know what to to sew).

[ fabrics used for quilt front ]

[ backing fabric ]

[ binding fabric ]
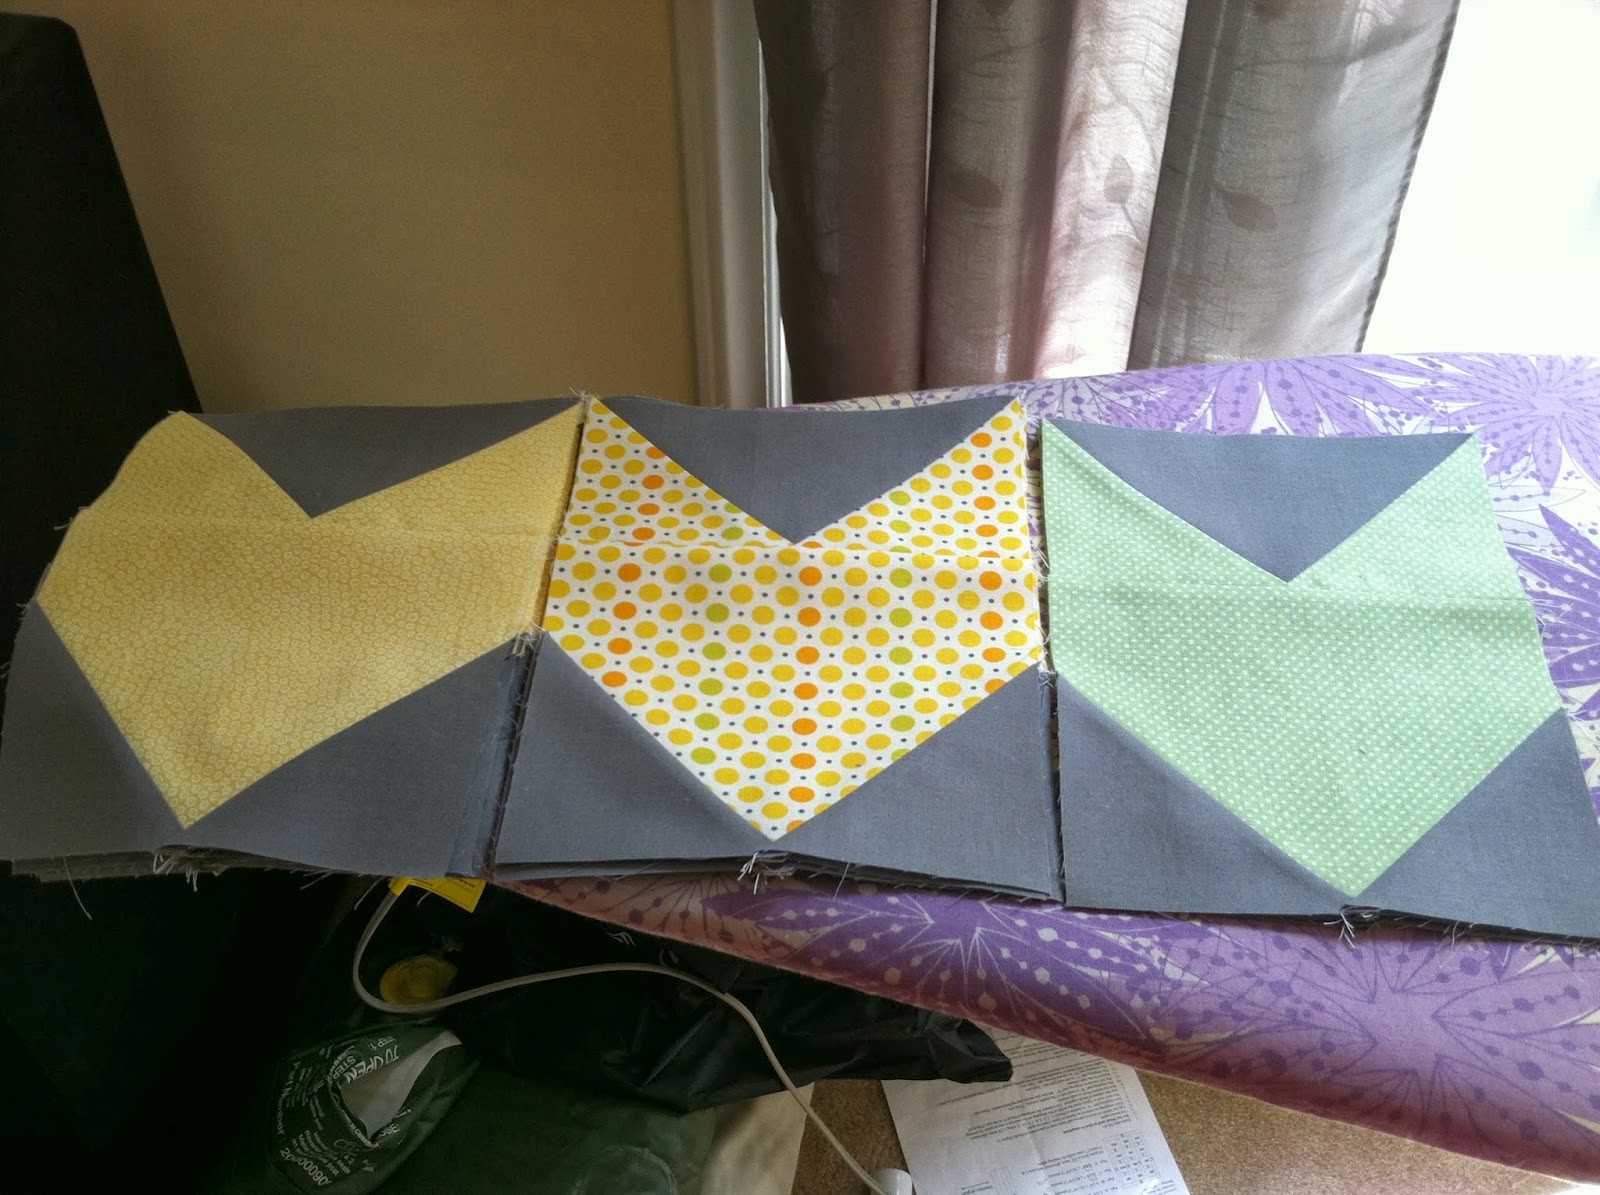
[ 3 out of 5 block sets ]

[ quilt top assembled ]
I struggled with how to quilt this blanket--this only reinforces the need to learn free motion quilting! I really loved the vertical stripes used in this example. My only concern was that if the alignment of the blocks or quilted lines was slightly off, it would be very obvious. Then I thought about horizontal lines, but since I used a horizontal chevron backing fabric, I thought that might be too much in the way of horizontal lines. Finally, I settled on what had been my first idea- to outline each arrowhead shape on the quilt. I stitched very close to the seam between the gray fabric and each arrowhead, while staying on the arrowhead itself.

[ outlining the arrowheads ]

[ quilt with binding attached- terrible night time cell photo ]
To bind this quilt, I first attached the binding to the quilt back and then wrapped it to the front of the quilt. I am becoming a bigger fan of this method because my mitered corners look nicer, even if keeping the stitching on the binding on the quilt back still needs some improvement.

[ binding close up ]

[ quilt back- you can see the arrowheads outlined here ]

[ quilt post-wash. Photo courtesy of Kathryn ]
COOL! This one is beautiful could go so many different directions depending upon the colors you choose.
ReplyDelete