
A grade school friend of mine was recently diagnosed with Stage IV triple-negative breast cancer. She is only a year older than me and I find it difficult to comprehend how someone so young, vibrant and healthy has such a shitty (pardon my French) disease. If you are interested in learning more, she has documented her journey on her blog, Hip Checking Cancer. In addition to her personal story, she has several links to resources for those needing more information.
As a scientist, I must advocate for cancer researchers here.
Science funding is currently dismal due to years of budget cuts and,
more recently, the sequester. Above is a prime example of a type of
cancer that warrants further research- not less.
Did you know that they are referring to my generation
of scientists as the lost generation?
Since so many scientists can not obtain funding,
they must look into other careers, away from
the bench and basic research. If you are looking to get involved,
the American Cancer Society is a wonderful organization
to donate to. Not only do they help patients
both with costs and education, but they they also fund cancer
biology researchers (including my husband) at all stages of their careers.
[ahem...stepping off my soapbox now...]
I had been thinking of things I might be able to do for my friend remotely since I no longer live in the great state of NJ where we grew up, and where she still resides. My mom suggested I make a quilt for her. I emailed her husband (another childhood friend) and asked if this was something she might need/use...and to my delight, he said that she could absolutely use a blanket as she often got cold during her chemo treatments. So I got down to business!
I selected the sunburst quilt pattern from the You & Mie blog as the basis of the quilt. Although the finished project listed on that tutorial is for a picnic blanket, I was able to easily modify it to be a throw-sized quilt. I decided on this sunburst pattern since it isn't like most traditional quilts- it feels more modern and allows me to choose fabrics with a larger-scale pattern. Instead of using fabrics that featured designs related to breast cancer (e.g. pink ribbon fabrics), I decided to make an 'edgier' choice- quilts can be edgy, right? The friend that I made this quilt for is a total bad-ass (hence the name of this quilt) and was an active roller derby girl prior to her diagnosis. Although she isn't skating while she undergoes her treatments, she is still very involved with her team. I decided to consult my best friend Google to see if there were any roller derby-themed fabrics I might be able to feature in this quilt. To both my surprise and delight, there were MANY derby-themed fabrics to choose from at Spoonflower. Have you guys heard of Spoonflower? It's a company located right here in the research triangle. They allow folks to design their own fabric and feature the designs on the Spoonflower website. I saw two fabric designs that immediately caught my eye. The first fabric featured vintage-inspired derby girls and had red, teal, gray, black and white accents.

The second fabric had skates, band-aids and banged up derby girls in grays, reds, pinks and blacks.

Overall, I was incredibly pleased with the fabrics that I ordered from Spoonflower. My only issue (and it's a small one) was that the second fabric was shown with a more ivory/off-white background online, where it is really white in real life. This is common when ordering fabrics online-- colors photograph differently than they really appear. That aside, I was thrilled with the fabrics overall. Spoonflower gives you a choice of what fabric you would like the design printed on- I used their Kona cotton, which is perfect for quilting. Because their fabric is rather pricey, I did not order all of the fabrics from Spoonflower. I used these two fabrics as my inspiration and purchased the rest of my fabrics from JoAnn's. By featuring two of the fabrics from Spoonflower, it was a nice way to get some modern flair in there without totally breaking the bank.
Next, I grabbed my friend Allison and we set off to JoAnn's (armed with a stack of 40% off coupons of course) to pick out the coordinating colors. In the You & Mie tutorial she used seven different fabrics. I chose to do the same. Here are the five additional fabrics that I chose:


I did not pre-wash any of these fabrics. Rather, I quilted the whole thing together and then washed it afterwards to get a soft, wrinkly effect on the blanket. The red fabric with silver accents did not wash well- the shininess (is that a word?) of the silver dulled after the first wash. wamp wamp.
To make my pattern, I used wrapping paper (I did not have butcher paper/freezer paper that the tutorial suggested using). The wrapping paper that I used conveniently had 1" grid lines drawn on the backside, which was PERFECT for pattern-making (Thanks Target!).

The wrapping paper was 40.5" wide. I cut a 30" long piece. I then drew a dot ~13" in from the right side that would serve as the point from which my 'rays' would originate (seen as an asterisk in the figure below). Using my 24" sewing ruler, I drew 6 lines towards the periphery of the paper.


I selected the sunburst quilt pattern from the You & Mie blog as the basis of the quilt. Although the finished project listed on that tutorial is for a picnic blanket, I was able to easily modify it to be a throw-sized quilt. I decided on this sunburst pattern since it isn't like most traditional quilts- it feels more modern and allows me to choose fabrics with a larger-scale pattern. Instead of using fabrics that featured designs related to breast cancer (e.g. pink ribbon fabrics), I decided to make an 'edgier' choice- quilts can be edgy, right? The friend that I made this quilt for is a total bad-ass (hence the name of this quilt) and was an active roller derby girl prior to her diagnosis. Although she isn't skating while she undergoes her treatments, she is still very involved with her team. I decided to consult my best friend Google to see if there were any roller derby-themed fabrics I might be able to feature in this quilt. To both my surprise and delight, there were MANY derby-themed fabrics to choose from at Spoonflower. Have you guys heard of Spoonflower? It's a company located right here in the research triangle. They allow folks to design their own fabric and feature the designs on the Spoonflower website. I saw two fabric designs that immediately caught my eye. The first fabric featured vintage-inspired derby girls and had red, teal, gray, black and white accents.

[ inspiration fabric #1 for the bad-ass derby quilt ]

[ inspiration fabric #2 ]
Overall, I was incredibly pleased with the fabrics that I ordered from Spoonflower. My only issue (and it's a small one) was that the second fabric was shown with a more ivory/off-white background online, where it is really white in real life. This is common when ordering fabrics online-- colors photograph differently than they really appear. That aside, I was thrilled with the fabrics overall. Spoonflower gives you a choice of what fabric you would like the design printed on- I used their Kona cotton, which is perfect for quilting. Because their fabric is rather pricey, I did not order all of the fabrics from Spoonflower. I used these two fabrics as my inspiration and purchased the rest of my fabrics from JoAnn's. By featuring two of the fabrics from Spoonflower, it was a nice way to get some modern flair in there without totally breaking the bank.
Next, I grabbed my friend Allison and we set off to JoAnn's (armed with a stack of 40% off coupons of course) to pick out the coordinating colors. In the You & Mie tutorial she used seven different fabrics. I chose to do the same. Here are the five additional fabrics that I chose:

[ teal with gold splashes to compliment the teal accents in the first inspiration fabric ]

[ gray chevrons- who doesn't love a good chevron fabric?? ]

[ black & white circle pattern ]
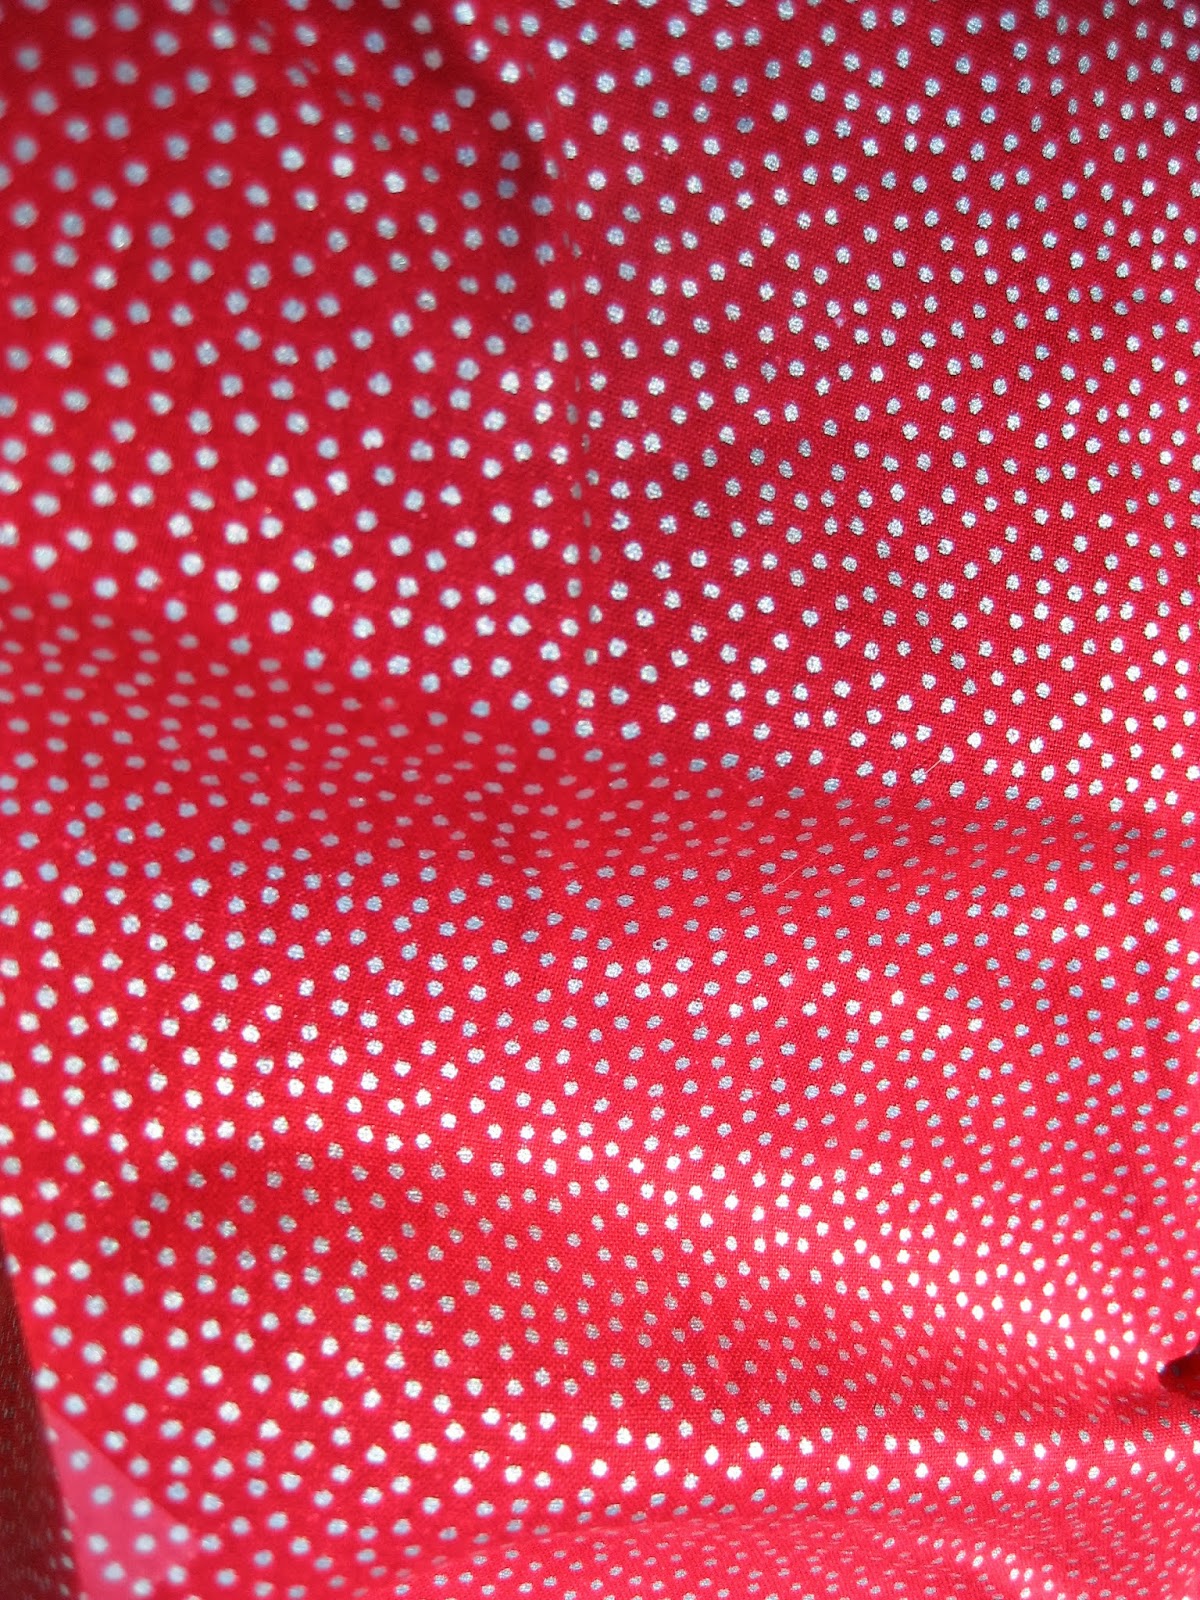
[ red fabric with silver accents ]
[ black with subtle gray circles ]
I did not pre-wash any of these fabrics. Rather, I quilted the whole thing together and then washed it afterwards to get a soft, wrinkly effect on the blanket. The red fabric with silver accents did not wash well- the shininess (is that a word?) of the silver dulled after the first wash. wamp wamp.
To make my pattern, I used wrapping paper (I did not have butcher paper/freezer paper that the tutorial suggested using). The wrapping paper that I used conveniently had 1" grid lines drawn on the backside, which was PERFECT for pattern-making (Thanks Target!).
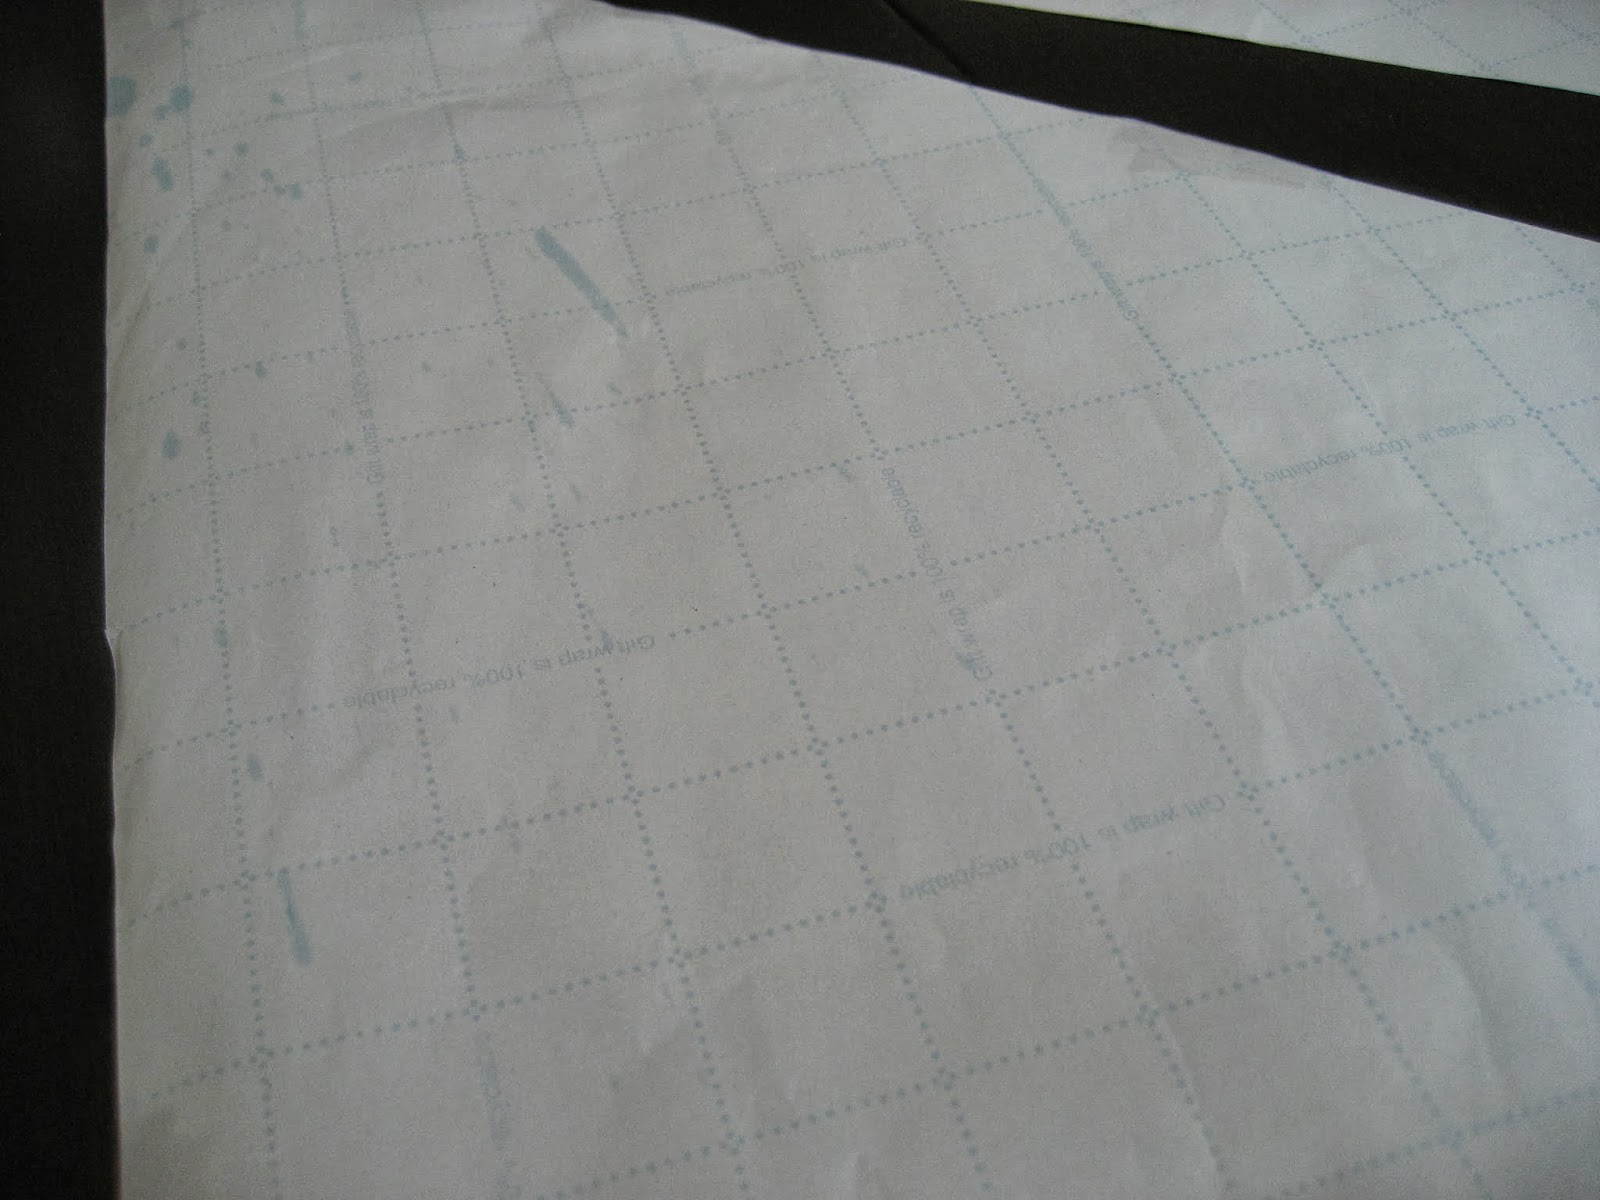
The wrapping paper was 40.5" wide. I cut a 30" long piece. I then drew a dot ~13" in from the right side that would serve as the point from which my 'rays' would originate (seen as an asterisk in the figure below). Using my 24" sewing ruler, I drew 6 lines towards the periphery of the paper.

[ layout for top half of sunburst quilt ]
The nice thing about this quilt is that you only need to cut 7 pattern pieces- for the bottom half of the quilt, you just need to flip the pattern pieces over and cut out the mirror image of each from the fabric (seen below).

[ pattern pieces flipped over for the bottom half of the quilt ]
After drawing all of my lines, I cut the individual pieces out of the wrapping and numbered them as shown above.

[ Pattern pieces cut out. Ignore the fact that piece #5 is missing a chunk. I blame the cat ]
After I generated my pattern pieces, I started cutting out my fabric. As shown above, I chose 7 fabrics. Thus, each fabric will be represented twice on the quilt- once in the top half and once in the bottom half.
To cut out the fabric, I didn't quite follow the tutorial's instructions. Rather than cutting out each piece a 1/2" larger than drawn (to allow for a 1/2" seam allowance) I went rogue and cut out the pieces as the exact size of the pattern piece. I also only used a 1/4" seam allowance. I taped (lazy, I know) each pattern piece down on its corresponding fabric, then used my ruler and rotary cutter to cut along the edges of each wedge shape.

[ quilt pieces displayed on the floor ]
Once all of my pieces were cut out, I sewed them together using a 1/4" seam allowance, starting with the top half of the quilt, next moving to the bottom half of the quilt and then, finally, joining the top and bottom halves. This is the point where I should show you a picture but I don't have one so instead, look at this picture of my dog.

[ big dog, tiny bone ]
After the top and bottom halves were joined, I needed to square up the quilt edges. To do this, I simply folded the quilt in half (along the seamline where I had joined the top and bottom halves), lined it up on my cutting mat and evened up the edges. At this point, the quilt was roughly 40" x 60" (a little smaller given the 1/4" seam allowance and squaring up). I wanted the quilt to be a little bigger, so I added a border (it was either 8 or 10"- bad job me for poor note taking) all around with the gray polka dot fabric below:

[ gray polka dot border fabric ]
For the backing, I had originally wanted to use a gray flannel but I also wanted to only use one piece of fabric. Because the quilt top was greater than 40" in both dimensions, a normal cut of fabric would have been short in one direction. To get around this, JoAnn's sells extended width fabrics in both flannel and cotton. I wanted gray flannel but they were out when I was there- sad face. But then I found this gray fabric that was also in extended width and really fit with my color scheme. I also purchased my favorite Warm & Natural batting.

[ extended width backing fabric ]
I pinned the quilt top to the batting and backing with safety pins. To quilt this blanket, I knew I wanted to do play up the sunburst shape, so I used my walking foot and quilted 1/2" away from each ray of the sunburst, two lines per each triangular piece. I also then stitched the ditch on the seam line where the triangles were joined to the border fabric so that the backing fabric had a nice design on it as well.

[ lots of lines! ]

[ here, you can see the rectangle made after stitching the ditch on the front ]
I absolutely love the pattern that was generated on the quilt back after highlighting the sun 'rays' on the quilt front. It inspires me to try more inventive quilting in the future, as I proposed in my previous post. After the quilt was put together, I removed all of the safety pins and squared up the quilt. I then made continuous crossgrain binding using a red and black damask cotton.

[ binding fabric ]
After I made the binding, I attached it first to the quilt front, then wrapped it around to the quilt back while stitching the ditch on the front (tutorial here). One thing I always struggle with is joining the two binding tails on the diagonal where they meet on the quilt. I took the following picture so that I can remind myself (jog my memory) about what the proper orientation of the two pieces is so that I don't stitch and seam rip over and over until I get it right!

[ joining of binding ends ]
I will now try to explain this (please leave comments if this is too confusing). The binding on the left side gets unfolded such that the wrong side of the fabric is facing up. The binding on the right side also gets unfolded but stays with its right side up. Using my disappearing ink marker, I marked on each fabric where the two fabrics intersected with each other. I then pinned the binding tails together, with the left on top of the right and stitched them diagonally. I then trimmed my fabric and refolded it so that I could sew the remaining binding down.

[ finished quilt top ]

[ close up of the finished quilt top ]

[ close up of the finished quilt back ]
After the quilt was fully constructed, I popped it in the wash on warm, then dried it on low. It was nice and soft and ready to be mailed to its new home in NJ!
P.S. Amy Adams, the woman who designed inspiration fabric #2 for this quilt, contacted me after my purchase and asked if she could see my finished project. I sent her a picture of the quilt and she now has it featured on her Spoonflower page.
P.S. Amy Adams, the woman who designed inspiration fabric #2 for this quilt, contacted me after my purchase and asked if she could see my finished project. I sent her a picture of the quilt and she now has it featured on her Spoonflower page.
Saw this on Pinterest today. Appreciating the excellence of the tute, the thought and the product. From another Triangler (now residing an inferior state), I send admiration. I'll use the tutorial and return again for the company.
ReplyDeleteThank you! Let me know if you have any questions- happy to help!
ReplyDelete