Friday, September 27, 2013

Future Projects Friday: Purse tutorials


It's Friday (TGIF) and it's time for Future Projects Friday where I feature a few Pinterested tutorials that I might want to make! This week, I thought I would feature some cute purse tutorials that come with FREE (jazz hands) pattern pieces you can print out from your home computer. Who doesn't love a cute purse? Also, these make wonderful gifts for friends, bridesmaid gifts or a gift to yourself!

1. Buttercup Bag tutorial from the blog, Made by RAE:

[ photo credit: http://www.made-by-rae.com/2009/02/free-buttercup-bag-sewing-pattern/ ]

I cannot gush enough over how cute & practical this bag is. Once again, I must confess that I have already made this bag (TWICE!!)- one for my good friend Jessie and then another for myself--once I saw how adorable it was in person, I needed one too! I absolutely love the fabric choice used in the tutorial and a heavier fabric for the outer part of the bag is a must, to give it that extra structure.

 [ buttercup bag made for my BFF Jessie ]

[ buttercup bag I made for myself! ]

 This pattern is very easy to follow and good for all levels of sewers. For both of the bags that I made, I used a heavier, canvas for the outer fabric and lined it with a quilting cotton. I think an even heavier fabric would work very well, although sometimes my sewing machine is not a fan of super bulky fabrics.

2. A modified Charlie Bag from Very Purple Person:

 [ photo credit: http://verypurpleperson.com/2010/04/making-reversible-bag/ ]

This is a great pattern for a reversible bag- two bags for the price of one project! I love the look of this bag and I am actually in the process of constructing it! I ran into one issue: the fabric I selected for the lining was not wide enough! I am bummed too because the fabric is such a cute design! For this pattern, you want to use home decor fabrics, which are wider and accommodate the pattern pieces. Also, make sure that the pattern is not 'scaled to shrink' when you print it or the patterns will not come out the right size. Thankfully, she provides a nifty 4x4 box for you to ensure that your pattern pieces printed out at the correct size!

3. The Diana Hobo bag from think liz.:

[ photo credit: http://thinkliz.com/2009/02/20/diana-hobo-free-pattern/ ]

 It is my personal opinion that one cannot have too many bags... my closet is a testament to this. This is a super cute hobo bag that is similar in style to the buttercup bag above, but larger. I think one of the things I like about making larger bags is the ability to feature larger scale print fabrics, which don't work on smaller bags.  This bag looks like it would be a great 'around the town' kind of bag!

4. Mrs. Langley's Tote bag from The Hip Home Ec Teacher:

[ photo credit: http://thehiphomeecteacher.wordpress.com/2012/02/07/mrs-langleys-tote-bag-sewing-pattern-free/ ]

Who doesn't love a good tote bag? These are great for traveling, carrying all your stuff to work, gifts for friends etc. This bag looks super cute and I love that it has a snap closure. I really like how she used the two different fabric prints. Also, how awesome is it that this tutorial comes from a home ec teacher's blog?!?! I took sewing all four years of high school and had an absolutely wonderful teacher who let me go off and do my own thing since I already knew how to sew : )

Hope you guys have a great weekend! Happy sewing!

Sunday, September 22, 2013

Bad-ass Derby Quilt


A grade school friend of mine was recently diagnosed with Stage IV triple-negative breast cancer. She is only a year older than me and I find it difficult to comprehend how someone so young, vibrant and healthy has such a shitty (pardon my French) disease. If you are interested in learning more, she has documented her journey on her blog, Hip Checking Cancer. In addition to her personal story, she has several links to resources for those needing more information.

     As a scientist, I must advocate for cancer researchers here.
Science funding is currently dismal due to years of budget cuts and,
more recently, the sequester. Above is a prime example of a type of
cancer that warrants further research- not less.
Did you know that they are referring to my generation
of scientists as the lost generation?
Since so many scientists can not obtain funding,
they must look into other careers, away from
the bench and basic research. If you are looking to get involved,
the American Cancer Society is a wonderful organization
to donate to. Not only do they help patients
both with costs and education, but they they also fund cancer
biology researchers  (including my husband) at all stages of their careers.
[ahem...stepping off my soapbox now...]

I had been thinking of things I might be able to do for my friend remotely since I no longer live in the great state of NJ where we grew up, and where she still resides. My mom suggested I make a quilt for her. I emailed her husband (another childhood friend) and asked if this was something she might need/use...and to my delight, he said that she could absolutely use a blanket as she often got cold during her chemo treatments. So I got down to business!

I selected the sunburst quilt pattern from the You & Mie blog as the basis of the quilt. Although the finished project listed on that tutorial is for a picnic blanket, I was able to easily modify it to be a throw-sized quilt. I decided on this sunburst pattern since it isn't like most traditional quilts- it feels more modern and allows me to choose fabrics with a larger-scale pattern. Instead of using fabrics that featured designs related to breast cancer (e.g. pink ribbon fabrics), I decided to make an 'edgier' choice- quilts can be edgy, right? The friend that I made this quilt for is a total bad-ass (hence the name of this quilt) and was an active roller derby girl prior to her diagnosis. Although she isn't skating while she undergoes her treatments, she is still very involved with her team. I decided to consult my best friend Google to see if there were any roller derby-themed fabrics I might be able to feature in this quilt. To both my surprise and delight, there were MANY derby-themed fabrics to choose from at Spoonflower. Have you guys heard of Spoonflower? It's a company located right here in the research triangle. They allow folks to design their own fabric and feature the designs on the Spoonflower website. I saw two fabric designs that immediately caught my eye. The first fabric featured vintage-inspired derby girls and had red, teal, gray, black and white accents.
[ inspiration fabric #1 for the bad-ass derby quilt ]

The second fabric had skates, band-aids and banged up derby girls in grays, reds, pinks and blacks.
[ inspiration fabric #2 ]

Overall, I was incredibly pleased with the fabrics that I ordered from Spoonflower. My only issue (and it's a small one) was that the second fabric was shown with a more ivory/off-white background online, where it is really white in real life. This is common when ordering fabrics online-- colors photograph differently than they really appear. That aside, I was thrilled with the fabrics overall. Spoonflower gives you a choice of what fabric you would like the design printed on- I used their Kona cotton, which is perfect for quilting. Because their fabric is rather pricey, I did not order all of the fabrics from Spoonflower. I used these two fabrics as my inspiration and purchased the rest of my fabrics from JoAnn's. By featuring two of the fabrics from Spoonflower, it was a nice way to get some modern flair in there without totally breaking the bank.

Next, I grabbed my friend Allison and we set off to JoAnn's (armed with a stack of 40% off coupons of course) to pick out the coordinating colors. In the You & Mie tutorial she used seven different fabrics. I chose to do the same. Here are the five additional fabrics that I chose:
 [ teal with gold splashes to compliment the teal accents in the first inspiration fabric ]
 [ gray chevrons- who doesn't love a good chevron fabric?? ]
 [ black & white circle pattern ]
[ red fabric with silver accents ]
[ black with subtle gray circles ]

I did not pre-wash any of these fabrics. Rather, I quilted the whole thing together and then washed it afterwards to get a soft, wrinkly effect on the blanket. The red fabric with silver accents did not wash well- the shininess (is that a word?) of the silver dulled after the first wash. wamp wamp.

 To make my pattern, I used wrapping paper (I did not have butcher paper/freezer paper that the tutorial suggested using). The wrapping paper that I used conveniently had 1" grid lines drawn on the backside, which was PERFECT for pattern-making (Thanks Target!).


The wrapping paper was 40.5" wide. I cut a 30" long piece. I then drew a dot ~13" in from the right side that would serve as the point from which my 'rays' would originate (seen as an asterisk in the figure below). Using my 24" sewing ruler, I drew 6 lines towards the periphery of the paper.


[ layout for top half of sunburst quilt ]

The nice thing about this quilt is that you only need to cut 7 pattern pieces- for the bottom half of the quilt, you just need to flip the pattern pieces over and cut out the mirror image of each from the fabric (seen below). 
[ pattern pieces flipped over for the bottom half of the quilt ]

After drawing all of my lines, I cut the individual pieces out of the wrapping and numbered them as shown above. 
[ Pattern pieces cut out. Ignore the fact that piece #5 is missing a chunk. I blame the cat ]

After I generated my pattern pieces, I started cutting out my fabric. As shown above, I chose 7 fabrics. Thus, each fabric will be represented twice on the quilt- once in the top half and once in the bottom half. 

To cut out the fabric, I didn't quite follow the tutorial's instructions. Rather than cutting out each piece a 1/2" larger than drawn (to allow for a 1/2" seam allowance) I went rogue and cut out the pieces as the exact size of the pattern piece. I also only used a 1/4" seam allowance. I taped (lazy, I know) each pattern piece down on its corresponding fabric, then used my ruler and rotary cutter to cut along the edges of each wedge shape.
[ quilt pieces displayed on the floor ]
Once all of my pieces were cut out, I sewed them together using a 1/4" seam allowance, starting with the top half of the quilt, next moving to the bottom half of the quilt and then, finally, joining the top and bottom halves. This is the point where I should show you a picture but I don't have one so instead, look at this picture of my dog. 

 [ big dog, tiny bone ]

After the top and bottom halves were joined, I needed to square up the quilt edges. To do this, I simply folded the quilt in half (along the seamline where I had joined the top and bottom halves), lined it up on my cutting mat and evened up the edges. At this point, the quilt was roughly 40" x 60" (a little smaller given the 1/4" seam allowance and squaring up). I wanted the quilt to be a little bigger, so I added a border (it was either 8 or 10"- bad job me for poor note taking) all around with the gray polka dot fabric below:

 [ gray polka dot border fabric ]

For the backing, I had originally wanted to use a gray flannel but I also wanted to only use one piece of fabric. Because the quilt top was greater than 40" in both dimensions, a normal cut of fabric would have been short in one direction. To get around this, JoAnn's sells extended width fabrics in both flannel and cotton. I wanted gray flannel but they were out when I was there- sad face. But then I found this gray fabric that was also in extended width and really fit with my color scheme. I also purchased my favorite Warm & Natural batting.

[ extended width backing fabric ]

I pinned the quilt top to the batting and backing with safety pins. To quilt this blanket, I knew I wanted to do play up the sunburst shape, so I used my walking foot and quilted 1/2" away from each ray of the sunburst, two lines per each triangular piece. I also then stitched the ditch on the seam line where the triangles were joined to the border fabric so that the backing fabric had a nice design on it as well.

[ lots of lines! ]

[ here, you can see the rectangle made after stitching the ditch on the front ]

I absolutely love the pattern that was generated on the quilt back after highlighting the sun 'rays' on the quilt front. It inspires me to try more inventive quilting in the future, as I proposed in my previous post. After the quilt was put together, I removed all of the safety pins and squared up the quilt. I then made continuous crossgrain binding using a red and black damask cotton.
[ binding fabric ]
After I made the binding, I attached it first to the quilt front, then wrapped it around to the quilt back while stitching the ditch on the front (tutorial here). One thing I always struggle with is joining the two binding tails on the diagonal where they meet on the quilt. I took the following picture so that I can remind myself (jog my memory) about what the proper orientation of the two pieces is so that I don't stitch and seam rip over and over until I get it right!
  [ joining of binding ends ]
I will now try to explain this (please leave comments if this is too confusing). The binding on the left side gets unfolded such that the wrong side of the fabric is facing up. The binding on the right side also gets unfolded but stays with its right side up. Using my disappearing ink marker, I marked on each fabric where the two fabrics intersected with each other. I then pinned the binding tails together, with the left on top of the right and stitched them diagonally. I then trimmed my fabric and refolded it so that I could sew the remaining binding down.
 [ finished quilt top ]

 [ close up of the finished quilt top ]

[ close up of the finished quilt back ]

After the quilt was fully constructed, I popped it in the wash on warm, then dried it on low. It was nice and soft and ready to be mailed to its new home in NJ!

P.S. Amy Adams, the woman who designed inspiration fabric #2 for this quilt, contacted me after my purchase and asked if she could see my finished project. I sent her a picture of the quilt and she now has it featured on her Spoonflower page.


Friday, September 20, 2013

Future Projects Friday: Free motion quilting


Well folks, you did it! You made it to Friday and the weekend is just a few hours away! Perhaps it's cause for a quick celebratory dance at your desk or lab bench? Don't worry about the stares you will undoubtedly attract- it's Friday! Here in North Carolina, the weather is supposed to be warm but there is a chance of rain for both Saturday and Sunday, which means I can stay inside and quilt! woohoo!

One of the things that has really caught my eye since joining Pinterest is the abundance of gorgeous quilts that people post. While I have been sewing quilts for some time now, I am relatively new to the actual 'quilting' aspect of it. Previously, I used to tie all of my quilts by hand (similar to what is shown here) to finish them.

[ hand-tied quilt that I made for my husband's sister and brother-in-law for their wedding ]

 Over the last few years, I have switched to finishing quilts entirely by machine. But, I feel that I really lack creativity in finishing the quilts. I usually find some sort of seam line or pattern on my quilt that I can easily follow at a 1/2" distance.
[ exhibit A and exhibit B: using existing seam lines to quilt ]

Last fall, I purchased my first walking foot. I sew on a ~20 year old Bernina 1630 machine that was my grandmother's before she passed away. The machine is incredibly special to me and when I use it, I am often reminded of my time squirreled away for hours in my grandmother's sewing room, with free range of her fabric stash. I was able to purchase a generic walking foot for my machine from the website Sewing Parts Online. I purchased the generic version since the original Bernina part is still almost $200- Eeek! With my walking foot, I now have the ability to break out of my rut and do more elaborate quilting just by creating vertical lines, horizontal lines, diagonal lines or a combo of vertical and horizontal to create a grid that has nothing to do with the actual pattern of the quilt top--baby steps, right?

  But...what I really have been dying to learn and implement is free-motion quilting. Have you seen some of the awesome quilts with a gorgeous pattern stitched on top (here, here & here)? The addition of free motion quilting to a quilt top gives it a new level of dimension and texture that are just lovely.

Below are a few tutorials I have gathered from around Pinterest that describe how to free motion quilt. I think the common theme is to start small and practice.practice.practice. I am thinking I might first try this on small projects like a mug rug or a placemat until I feel more comfortable scaling up to a quilt.

1. Free motion quilting advice from Sugar Tart Crafts:

[ photo credit: http://www.sugartartcrafts.com/2012/01/free-motion-presser-foot.html ]

       "...• Draw your design on with disappearing pen, or iron on a piece of freezer paper to "trace"  
           around.
         • Start with a strong needle, so there is less worry about breaking it while stitching.
         • Slow down! Don't just stomp on the pedal. It will take time to match the speed of your hands 
            and foot...."

2. An in-depth tutorial for free motion quilting from the Oh Fransson! blog:

[ photo credit: http://www.ohfransson.com/oh_fransson/2009/03/quilt-along-14-freemotion-quilting.html ]
This blog gives you a very good idea of the process of free motion quilting from start to finish.

3. A list of the supplies you will need for free motion quilting from A Few Scraps:
[ photo credit: http://afewscraps.blogspot.com/2010/08/free-motion-quilt-along-supply-list.html ]

This blog entry details the list of items you will need including the specific type of sewing machine needles and items that will be helpful such as the gloves pictured above.

4. A series of video tutorials from The Quilt Show:
Sometimes it is helpful to actually observe a technique being performed and this website has a lot to offer in the way of video tutorials.


If you have other tutorials you have found helpful for learning to free motion quilt, please feel free to share them in the comments section of this post! Happy quilting!


Tuesday, September 17, 2013

Collaborative Quilting, part II (or Tutorial Tuesday?)


When we last left off , I had purchased the fabrics for the quilt top. Now it was time to construct it! I was impressed by how quickly this quilt top came together (a few hours, including cutting out fabric). 

 [ schematic for pieces to cut out and the order in which to sew them ] 
Fabrics Needed
12 9" squares (a-i in the above image)
2 yards quilting cotton for first (yellow, #1-3 above) border
1.5 yards quilting cotton for outer (green, #4, 5 above ) border
1 yard flannel for center panel for backing
1.5 yard flannel for border fabric for backing
Batting measuring at least 50" x 60" (I love the Warm & Natural brand, which can be purchased at JoAnn's. Batting is not cheap- make sure to buy when it is on sale or when you have a 40 or 50% off coupon!)
1/2 yard quilting cotton for binding

Constructing the quilt top:

1.  From the yellow fabric: I cut nine 3 3/4" x 9" rectangles that correspond to #1 in the above picture. I first cut two 3 3/4" strips from my fabric and then sub-cut those into nine 9" rectangles. Next, I cut four 3 3/4" x 42 3/4" strips for #2, still from the yellow fabric. I then cut out two 3 3/4" x 38 3/4" yellow fabric strips for #3.

2.  I used a 3/8" seam allowance throughout, as I mentioned in my previous post. First, I laid out the embroidered squares in the desired order and then attached the #1 rectangles underneath the a, b, c, d, e, f, g, h and i blocks. I then stitched the 'a' block + rectangle to the 'd' block + rectangle, which was then stitched the 'g' block + rectangle and finally attached those to the 'j' block. This created one long column. I repeated this for the middle and right columns of blocks. [ I am sorry I do not have pictures for these steps; I had not started the blog when I constructed this quilt. ]

3.  I then attached the longer, #2 borders to each column, working from left to right. The #3 borders were subsequently attached to the top and bottom of the quilt top.

 [ quilt top after yellow border added. excuse crappy cell phone photo ]

4.  At this point, I went back to the cutting table (also known as our dining room table) and cut out four strips for the green, outer border. For #4, I cut two 5 3/4" x 48 3/4" strips from the lengthwise grain. I did this so I could get one continuous piece for each border, rather than having to piece together multiple strips (I hate unnecessary seam lines) if I cut from the crosswise grain, which was only 42" wide. I then cut another two 5 3/4" x 48 3/4" strips for the #5 borders, again from the lengthwise grain.

5.  The outer borders were attached, with the #4 borders added first and followed by the #5 borders. This gave a final quilt top measurement of 48 3/4" x 58 3/4".
[ finished 48 3/4" x 58 3/4" quilt top ]
Constructing the quilt back:
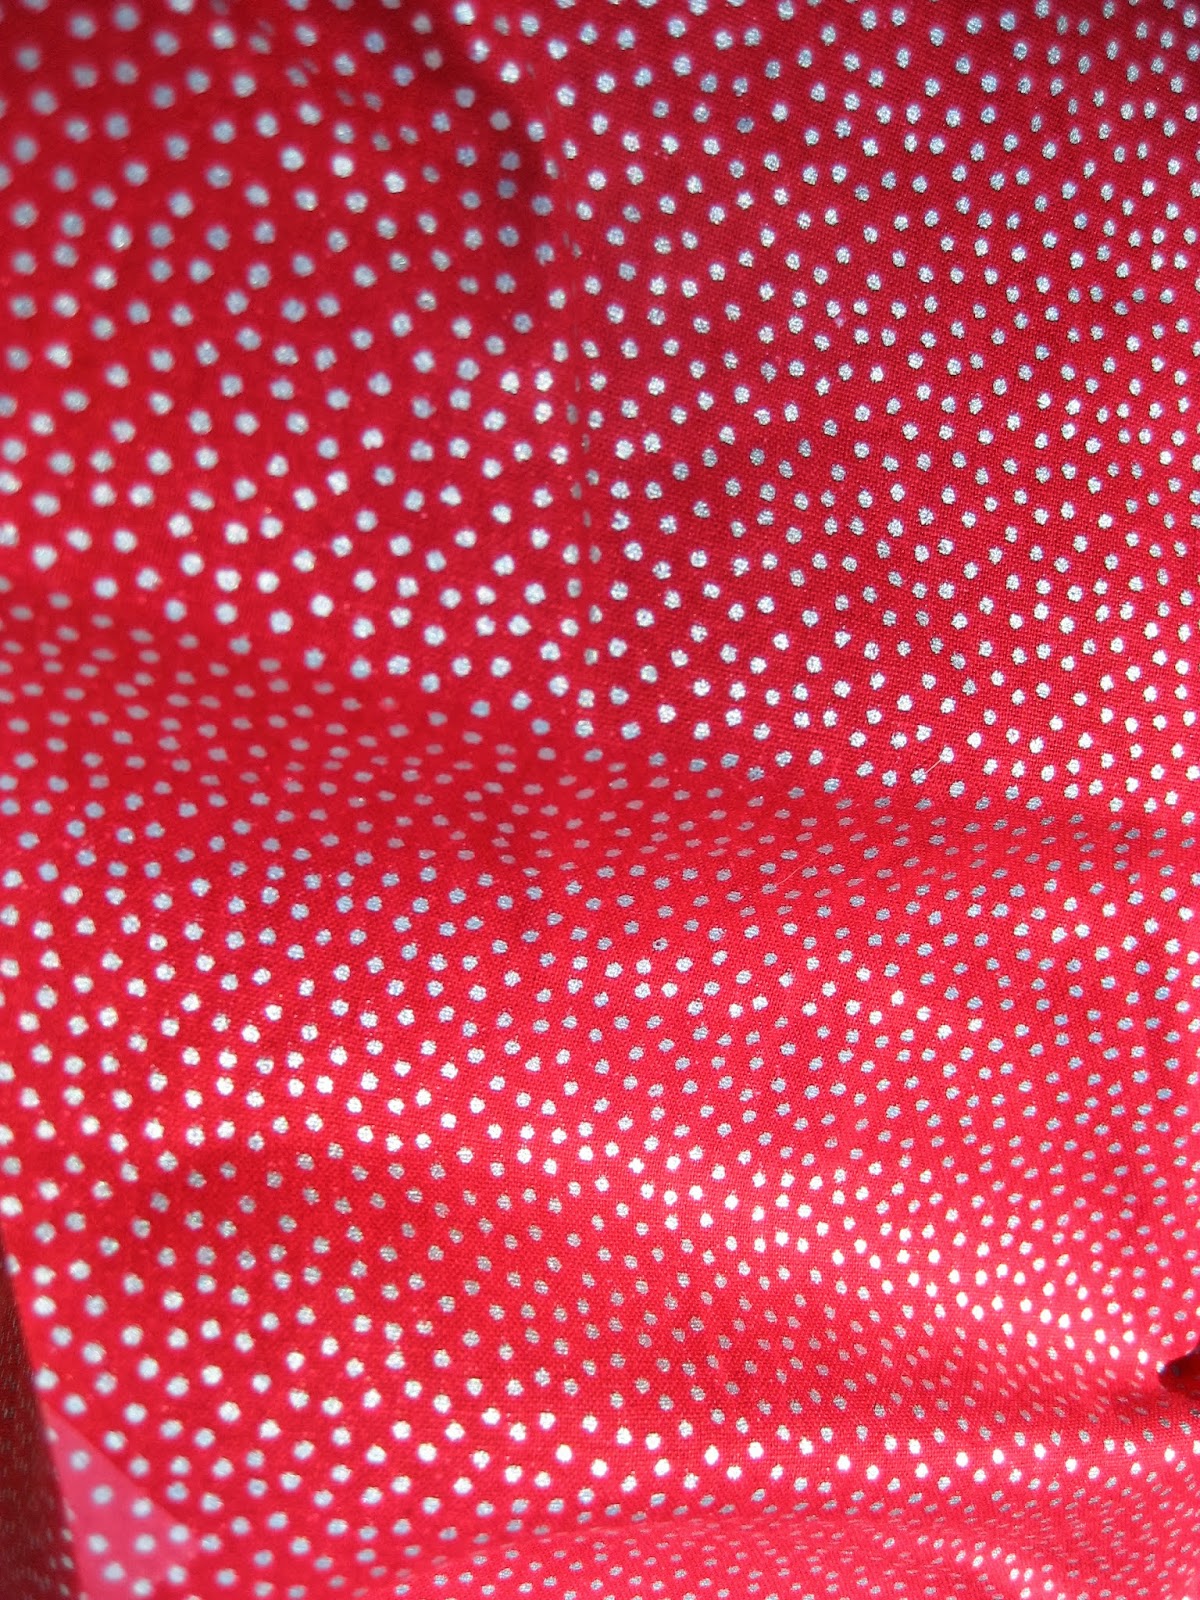
At this point, I went out and purchased my backing fabrics. I opted to go with flannel on the quilt back so that it would be nice and warm for Sarah's daughter. Because the quilt was wider than most flannels (JoAnn's does carry a very limited color selection of extended width flannels), I opted to feature one fabric in the center of the backing and then surround it with a flannel 'border'.

 [ center fabric for quilt backing ]

[ border fabric for quilt backing ]
1.  I squared up the 1 yard cut of the center fabric to 36" x 42" (I removed the selvage edge, which had print on it). I then constructed the backing as follows:
[ schematic of the quilt backing ]

2.  For the #2 borders, I cut two pieces of 7" x 42" from the green flannel fabric, again cutting from the lengthwise grain. I then cut two pieces of 9" x 50" from the green flannel fabric for the #3 border pieces.

3. Still using a 3/8" seam allowance, I attached the #2 border pieces to the left and right sides of the center backing piece. I then attached the #3 pieces to the top and bottom of the backing. This created a backing that was about 50" x 60", slightly bigger than my quilt top.

4. I then basted (this is a good tute for basting) the quilt with curved safety pins, to attach the quilt top to the batting and backing.
[ i used allllll the pins! ]

5.  One of the things I loved about this quilt kit was that the squares that Sarah embroidered had a lovely octagon pattern printed on them, just inside the embroidered blue corners. I selected a light blue thread to match the blue embroidery and stitched the twelve octagons. It created such a cute pattern on the back, though it was difficult to see with the fluffiness of the flannel. I also quilted 1/2" away from the yellow border (on the green border fabric) just to make sure things were secure.
 [ quilt backing after quilting the three layers ]
[ close up of the quilt front- you can see the blue octagon and the quilting on the green border ]

[ another view ]

6.  After everything was quilted, I removed the eleventy zillion safety pins, squared the quilt up (using this technique), and mentally prepared myself to add the binding.

7. For the binding, I used a cute blue fabric that matched the blue embroidery floss used and made a continuous crossgrain binding

[ binding fabric ]

I cut 2.5" wide binding strips. I calculated how many strips I needed based on the quilt top measurement (48 3/4" x 58 3/4") as follows: 48 3/4" + 48 3/4" + 58 3/4" + 58 3/4" + 12" (allows for avoiding seams at corners) =  227.03, I then divided that by 40 (conservative estimate of fabric width) = 5.6 and then rounded up to 6. This means that I cut 6 strips, 2.5" wide, cutting on the crosswise grain. I then trimmed off the selvage edges and joined the pieces as shown in the tutorial I linked to above.
[ binding laid out on the quilt top before it was trimmed ]

While I do not actually pin my binding to my quilt as I sew it on, I do lay it out around the quilt before I start sewing to make sure that seams in the binding do not end up close to the corners (bulky seams + extra fabric to miter corners = yucky to sew over).

For this quilt, I attached the binding first to the quilt top as shown in the image above. I then wrapped the binding around to the back of the quilt, added a zillion straight pins to keep it in place and carefully stitched the ditch between the binding and the green border fabric, while catching the binding on the back at the same time. I only stabbed myself with pins twice- moral victory. This part is time consuming, but I have found that the more I pin and the slower I go, the less likely I am to make a mistake or not catch the binding on the back.
[ Finished quilt top ]

[ Finished quilt back ]

[ close up of quilt top ]

[ close up of quilt back ]

I am incredibly thrilled with the way this quilt turned out. It was amazing to collaborate with Sarah and I felt very inspired by her embroidery color choices in picking out my fabrics. I surprised Sarah with the fabric selection after discussing initial color likes and dislikes (this was her choice and it was really hard to keep it a secret until it was done!). The final approval was up to her daughter, however, and fortunately for both of us- she LOVES it. She loves it so much that Sarah has to be strategical about when to wash it, as her daughter prefers to not let the blanket out of her sight!

I had so much fun making this quilt and Sarah and I are already discussing the next collaboration- her daughter's 'big girl bed' comforter. Sarah is currently embroidering away on these lovely blocks in pinks, purples and dark and light greens. Cannot wait!